Preliminary :
- This tutorial is based on WinReducer 8.1 (some options may differ or not available for other WinReducer Software)
- You've already installed WinReducer 8.1
- File icons may be slightly different
- OK, ready ... so let's GO !
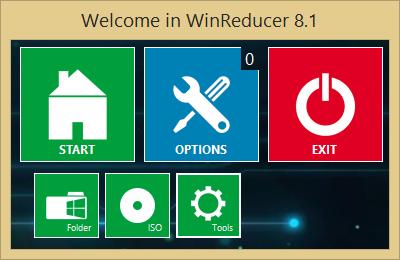
1) Launch WinReducer 8.1 from your installation folder
2) Connect your usb drive (usb key or hard disk drive) to your computer
3) Use "HOME" icon, then "Tools"
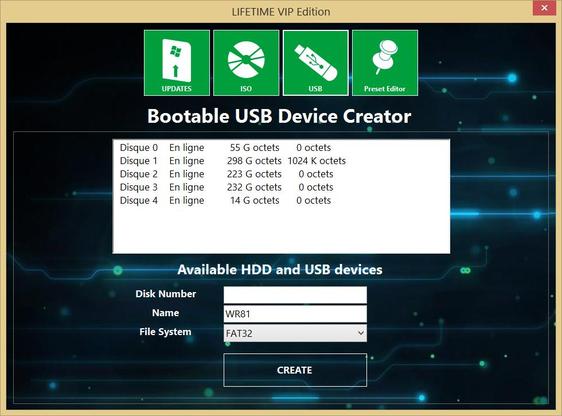
4) Hit "USB" icon
- Now you see all SSD, HDD and USB drive connected to your computer
- Determine which drive is your USB drive (mine is "Disque 4 = 14G Octets")
- Report the number "4" in the Disk Number empty field
- You could change the "Name" of your usb drive, which will be displayed in Windows Explorer
- You could choose your format file system (fat32 or ntfs)
- Once finished, hit "Create" button
- You see a message window which informs you about the potential risk, if you do not choose the correct usb drive. You could cancel the process at this step if you are not sure
- Then if you are OK, it will take seconds to format your entire usb drive (depending on the size and the speed of your drive)
- Once finished, you see a message which informs you that your usb drive has been formatted
5) TIPS : In WinReducer 8.1 "ISO" options, you could choose to automatically copy your extracted ISO folder content to your formatted usb drive
6) Congratulations ! You are able to use your usb drive as an usb installation media to improve your Windows installation speed
Updated : 10 Jan. 2015

