Preliminary :
- This tutorial is based on "WinReducer Logo Changer - v1.0.0.0 - Lifetime VIP Edition" (some options may differ in your WinReducer version)
- Windows 8.1 (Update 3) is used as Operating System
- File icons may be slightly different
- OK, ready ... so let's GO !
1) Launch WinReducer Logo Changer from your own installation folder
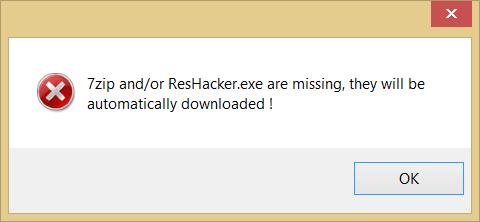
2) The first time you launch this WinReducer Software, a message informs you that it will download some third-party software necessary to correctly use your WinReducer Software
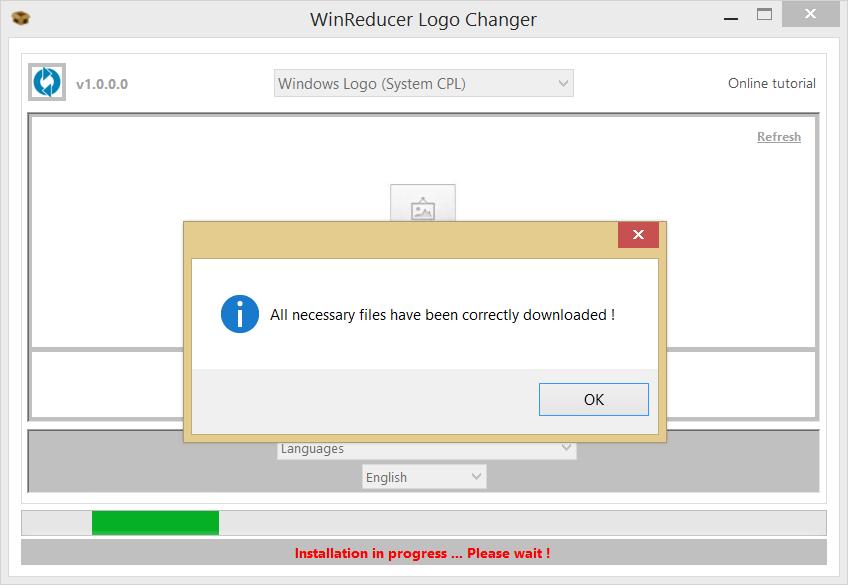
3) It will download all necessary third party software, and extract from them only necessary files (depending on your network speed, but it should not take more than 30 seconds)

4) Wait until you will see a confirmation message
5) You could start customizing your Windows installation by selecting all available functionnalities using the top menu
|

|
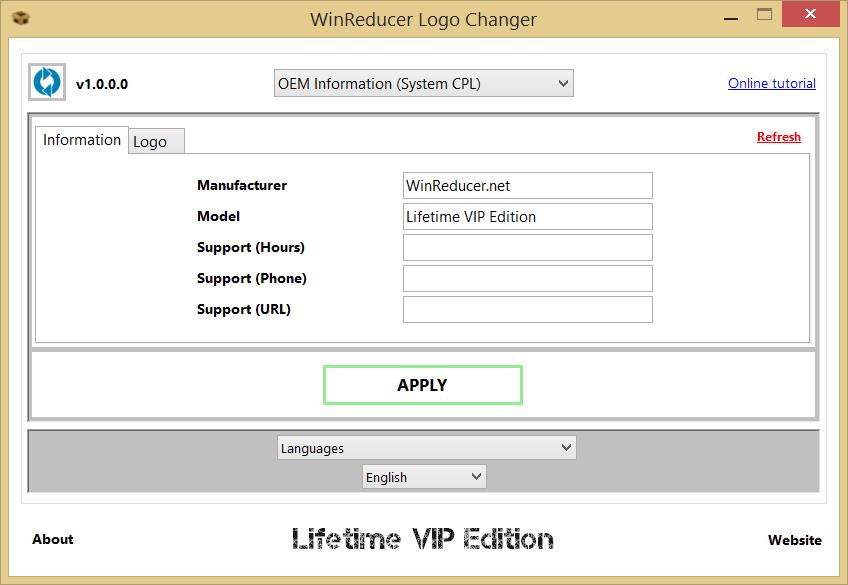
- OEM Information
- Add or Change : Add "Information" text for Manufacturer, Model and Support (Hours, Phone and URL)
- Add or Change : Choose an "OEM" Logo in the list (only bitmap files are supported, with a recommended 96x96 size)
- Remove OEM Information : Leave according field blank
- Remove OEM Logo : Choose "Remove OEM Logo" in the list
- Many OEM Logos are provided in the package and available by default
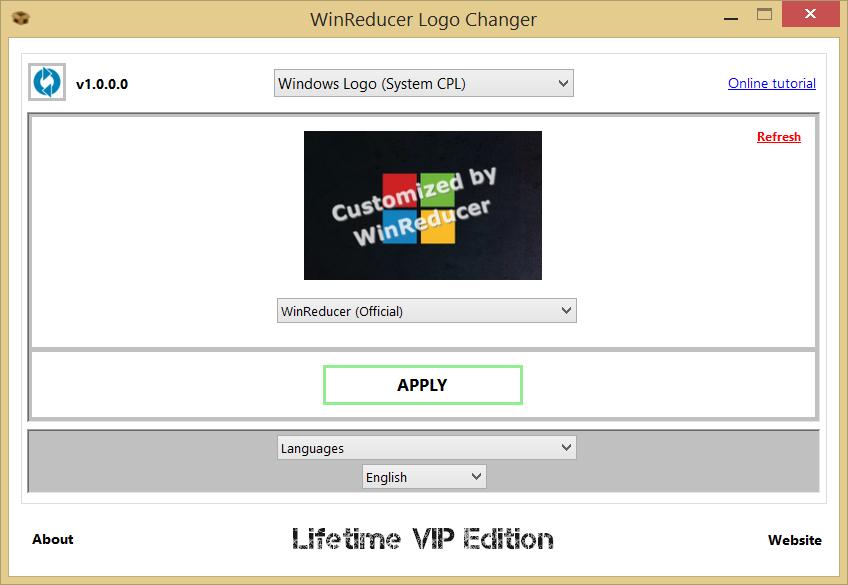
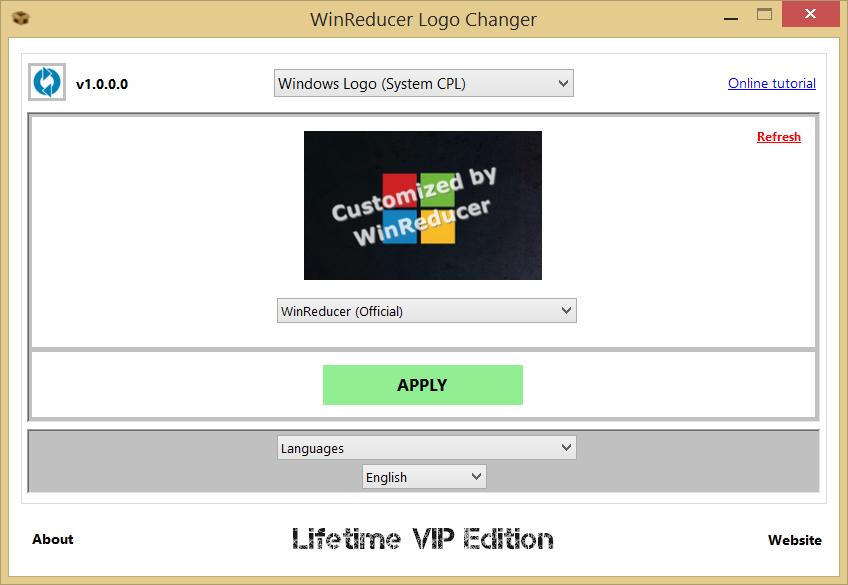
- Windows Logo
- Add or Change : Choose a Windows Logo in the list (only 32 bits Bitmap files are supported)
- Many OEM Logos are provided in the package and available by default
6) Once, you finished choosing all your settings, just hit "Apply" button to proceed to your changes in your Windows system
7) Wait until you will see a confirmation message
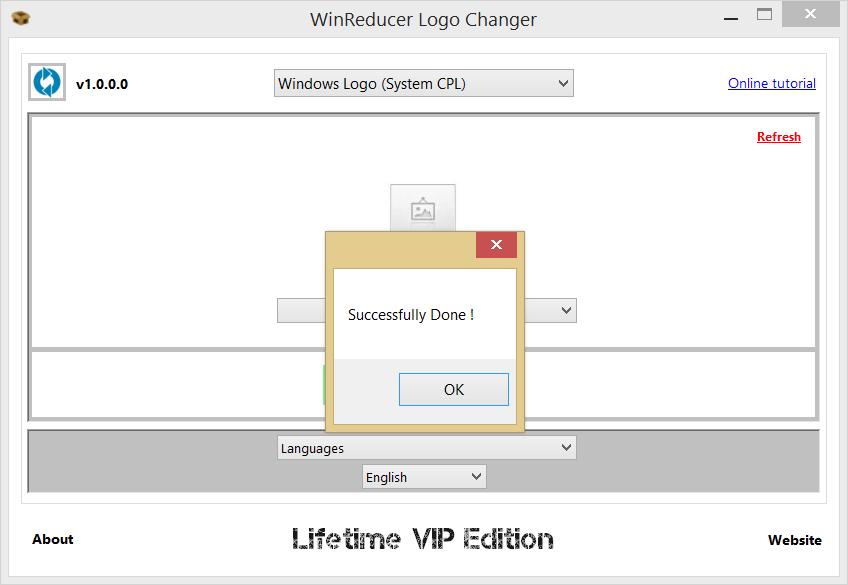
8) CONGRATULATIONS ! Your file has been converted and created successfully
Updated : 31 March 2015