Preliminary :
- This tutorial is based on "WinReducer Wim Converter - v2.5.0.0 - Lifetime VIP Edition" (some options may differ in your WinReducer version)
- Windows 8.1 (Update 3) is used as Operating System
- File icons may be slightly different
- OK, ready ... so let's GO !
- This tool is a converter, and not a decrypter
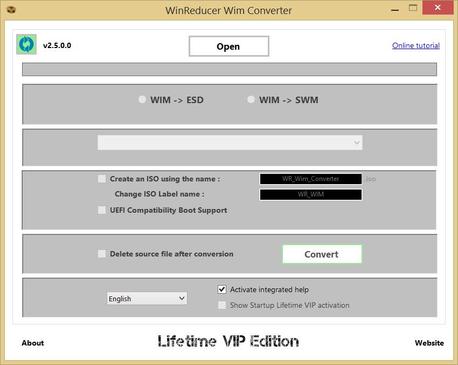
1) Launch WinReducer Wim Converter from your own installation folder
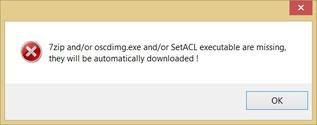
2) The first time you launch WinReducer Wim Converter, it informs you that it will download some third-party software necessary to correctly use your WinReducer Software
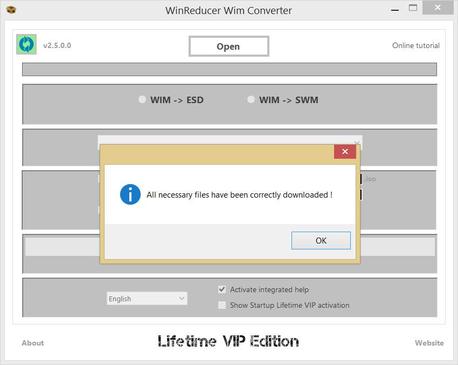
3) Wait until you will see this message, and hit "OK". Your WinReducer Wim Converter Software is ready to be used
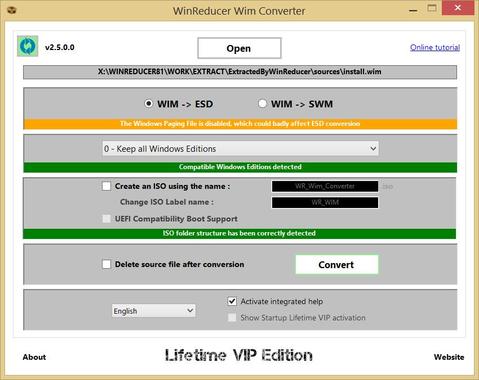
4) Hit "Open" button and choose an "*.esd", "*.swm" or "*.wim" file
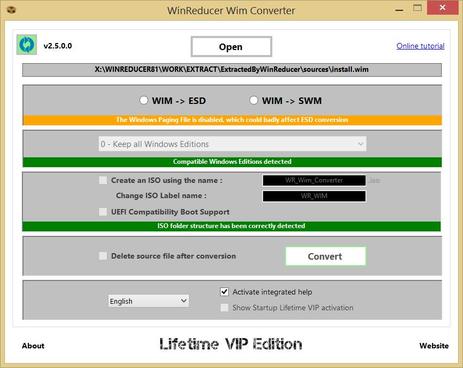
5) Depending on your Windows Operating System, detected ISO folder and file format (esd, swm or wim) ... all options will be automatically enabled or disabled
==> AVAILABLE OPTIONS WHEN RUNNING UNDER
- Windows 7
For example, if your "install.wim" source file size is equal to 4000 Gb, your SWM file size must be inferior (like 1000 Gb, 3500Gb, ...)
- Windows 7
- SWM -> WIM
- WIM -> SWM
- ESD conversion is not available
- SWM -> WIM
- WIM -> SWM
- ESD conversion is not available
- ESD -> WIM
- ESD -> SWM
- SWM -> ESD
- SWM -> WIM
- WIM -> ESD
- WIM -> SWM
- ESD Media Creation
For example, if your "install.wim" source file size is equal to 4000 Gb, your SWM file size must be inferior (like 1000 Gb, 3500Gb, ...)
6) Proceed to your settings conversion options
How to proceed :
- 1 - Choose in which format you want convert your file ... this will activate all other options !
- 2 - Choose which Windows Edition you want to process : by default, "Keep all Windows Editions" is selected, but you could choose to keep only one edition by using the dedicated menu
- 3 - If ISO option is available, you could choose to create a new ISO, using your install converted file, at the end of the conversion process
- 4 - If you want to delete the source install format file after the conversion process
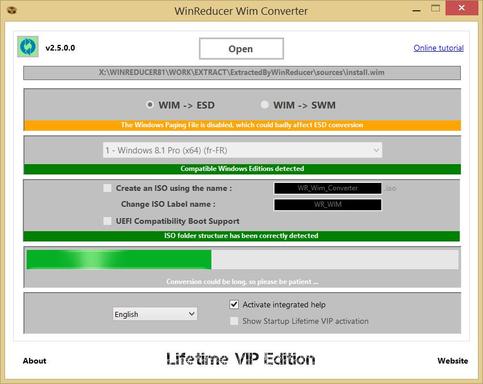
7) Hit "Convert" button, to launch the conversion
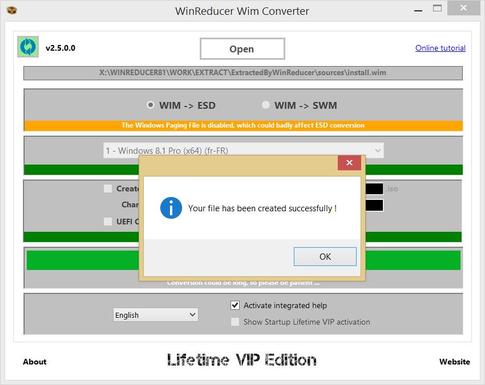
8) Wait until you will see a confirmation message
9) CONGRATULATIONS ! Your file has been converted and created successfully
Updated : 29 March 2015
