Preliminary :
- This tutorial is based on WinReducer EX-100 (some options may differ or not available for other WinReducer EX-Series Software)
- You've already installed WinReducer EX-100
- WinReducer EX-100 is correctly installed and properly configured
- OK, ready ... so let's GO !
1) Launch WinReducer EX-100 from your installation folder
2) Mount your Windows Edition using this tutorial : Mount your Windows Edition
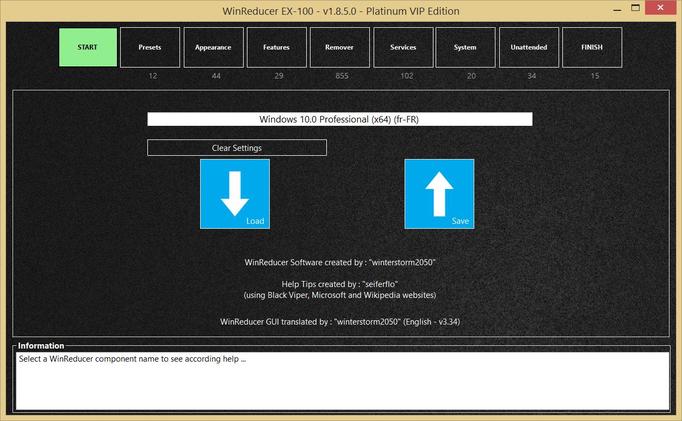
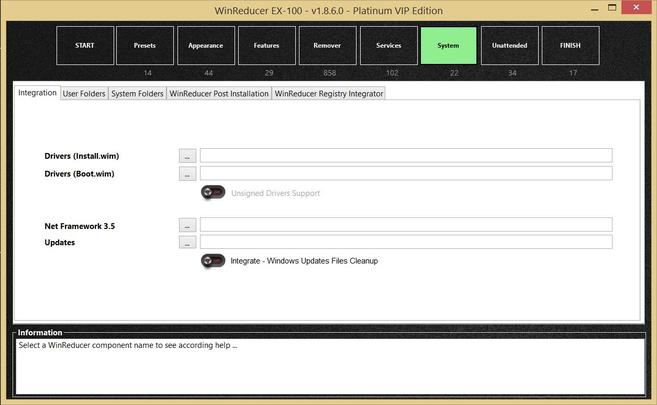
3) You will then see the Main configuration window, and choose the "System" tab
- You need to define the folder, which contains the Net Framework 3.5 source file :
- If you use an official Windows ISO : just hit the "..." button of the "Net Framework 3.5" option, and immediately hit the "OK" button ... the correct folder path will be automatically selected and displayed in the according field
- if you downloaded the Net Framework 3.5 cab source file by yourself : hit the "..." button of the "Updates" option, and point to the folder you use to store it (be aware to verify to check the compatibility with your Windows Edition and version to avoid troubles during integration process)
- Additional information :
- For all users : the first time you use an official ISO, the Net Framework 3.5 source file is automatically copied from your ISO and stored to the folder "..\WinReducerEX100\WORK\INTEGRATE\UPDATES\Net Framework 3.5\x64 (or x86)" as a backup for future use of this function
- For Windows 10 users : since "EX-100 - v1.8.5.0", the Net Framework 3.5 source file uses a special naming in order to avoid troubles with all different version of Windows 10 ... so, here is an example for RS2 version (Creator Update) = "RS2_microsoft-windows-netfx3-ondemand-package" ... the file is automatically named by WinReducer EX-100 the first time you mount an official Windows ISO, according to your Windows version (TH1, TH2, RS1, RS2, RS3, ...)
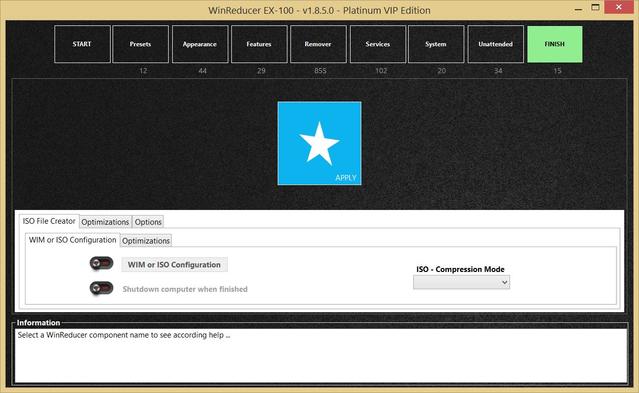
4) Then go to the "FINISH" tab
- Hit the "APPLY" button to directly integrate all your updates in your Windows Edition
Updated : 07 July 2017


